
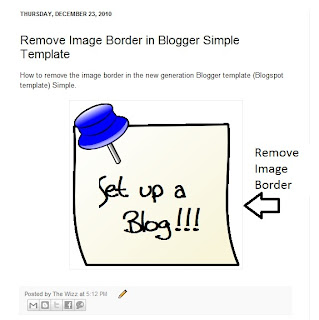
In this Blogger tutorial I show you how to remove the border around images in Blogger posts (Blogspot posts) when using one of the latest default Blogger templates Simple or Awesome Inc.
Below I explore two methods of removing or deleting image borders in the Blogger template Simple. The first method shows you how to remove the image border using Template Designer and the second method outlined describes how to remove the image border manually by changing the code.
Method 1 - Use Template Designer to Remove Image Border in Blogger
Method 2 - Change Template Code to Manually Remove Image Border from the New Default Blogger Templates
In this Blogger tutorial (Blogspot tutorial) I have shown you how to remove or delete the border around images in Blogger posts for the newest generation of default Blogger templates Simple and Awesome Inc. I have discussed two different methods to remove the border around the images either by adjusting the settings in the Blogger Template Designer or by manually changing the code of the variable in the CSS styling section of the default Blogger template
Related Articles
List of Blog Know How Tutorials for Blogger Blogs
How to Change or Remove Blogger Image Borders (Part 1)
How to Change the Blog Title Border in Blogger Minima Template
How to Add CSS Styling to Blockquotes in Blogger
How to Align and Justify Posts in Blogger
How to Add a Divider Between Blogger Posts
How to Add or Change a Background Image in a Blogger Template
How to Remove the Link from a Single Image in a Blogger Post
If you are using an older generation Blogger template or a custom template the solutions contained in this article may work for you however it is more likely that you will need to follow the methods to remove image borders outlined in my previous Blogger tutorial Change or Remove Blogger Image Borders (Part 1)
Below I explore two methods of removing or deleting image borders in the Blogger template Simple. The first method shows you how to remove the image border using Template Designer and the second method outlined describes how to remove the image border manually by changing the code.

Method 1 - Use Template Designer to Remove Image Border in Blogger
- From the Blogger Dashboard go to Design > Template Designer
- Then select Advanced > Images
- Under Border Color use the drop down arrow to open the color palette
- Change the setting to transparent by checking the small box on the bottom right hand side marked "transparent"

Note: If you are using the black version of the Awesome Inc template you will need to change the Background Color to transparent too. Click on the down arrow of the color palette and select transparent.
- Click Apply to Blog to save your changes to the template
- Navigate to any post page to view images in posts without the border


Method 2 - Change Template Code to Manually Remove Image Border from the New Default Blogger Templates
- From the Blogger Dashboard go to Design > Edit HTML
- Back up your Blogger template
- Find this line amongst the declared variables at the top of your template
<Variable name="image.border.color" description="Border Color" type="color" default="transparent" value="#cccccc"/>
- Change to the value of the border color to transparent like so
<Variable name="image.border.color" description="Border Color" type="color" default="transparent" value="transparent"/>
- Save your changes to the template
- Navigate to any post page that has an image and see that the border around the image is no longer visible
In this Blogger tutorial (Blogspot tutorial) I have shown you how to remove or delete the border around images in Blogger posts for the newest generation of default Blogger templates Simple and Awesome Inc. I have discussed two different methods to remove the border around the images either by adjusting the settings in the Blogger Template Designer or by manually changing the code of the variable in the CSS styling section of the default Blogger template
Related Articles
List of Blog Know How Tutorials for Blogger Blogs
How to Change or Remove Blogger Image Borders (Part 1)
How to Change the Blog Title Border in Blogger Minima Template
How to Add CSS Styling to Blockquotes in Blogger
How to Align and Justify Posts in Blogger
How to Add a Divider Between Blogger Posts
How to Add or Change a Background Image in a Blogger Template
How to Remove the Link from a Single Image in a Blogger Post
Comments
Post a Comment